KeithSDR Transceiver [Part 1]: Building the software
Summary#
I obtained my Radio Amateur license recently but I don’t own any HF radio that I can operate at the moment. I was looking for a HF transceiver I can build myself and I came across the KeithSDR project. KeithSDR is basically a SDR transceiver built using a Teensy 4.1 as main CPU board, a RA887X display and and RF receiver or transceiver capable of providing an I/Q audio output. The project does not include details on the construction of the RF receiver/transmitter but relies on existing RF receivers or transmitters.
In this series of posts I am going to document my progress. I don’t want to add unnecessary details like list of hardware components that are already documented in the project website, but instead I want to document the progress of my specific build and the problems I am finding on the way.
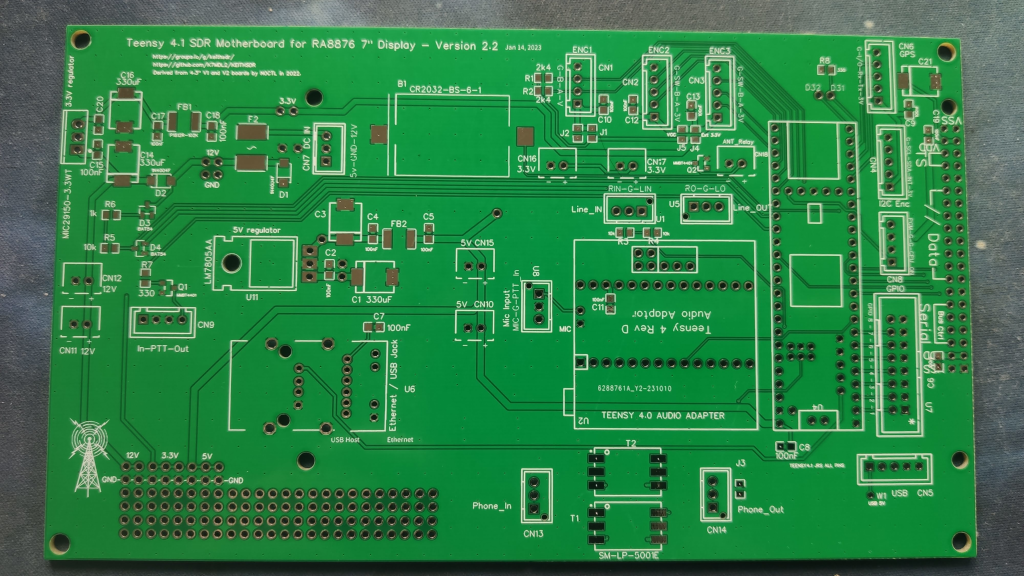
For my build I have decided to go with the 7" display and the PCB board v2.2. The boards can be ordered from JLPCB using the Gerber files. For the RF part I decided to start with a HF receiver from QRPLabs. I will think later on a replacement capable of transmitting.
Install Arduino and TeensyDuino#
-
Download, unzip and launch Arduino IDE v2:
mkdir ~/build/ cd build wget https://downloads.arduino.cc/arduino-ide/arduino-ide_2.2.1_Linux_64bit.zip cd arduino-ide_2.2.1_Linux_64bit/ ./arduino-ide -
Install Teensyduino 1.58
In the Arduino IDE, in Preferences, add the following link
https://www.pjrc.com/teensy/package_teensy_index.jsonin “Additional Boards Managers URL”. After that we can install support for the Teensy by going to Tools -> Board -> Boards Manager and then search and install Teensy 1.58. More details on how to install Teensyduino can be found in the Teensy website. -
Install Teensy UDEV Rules
wget https://www.pjrc.com/teensy/00-teensy.rules
sudo cp 00-teensy.rules /etc/udev/rules.d/
Configure the project#
Checkout the code from the repository:
cd ~/build/
git clone https://github.com/K7MDL2/KEITHSDR
We can open the project by selecting the .ino file. In the IDE, go to File -> Open and select the file ~/build/KEITHSDR/SDR_RA8875/SDR_RA8875.ino, that will open tabs for each of the files in the project. We can modify RadioConfig.h to adapt the build to our hardware.
These are the settings I have modified:
#define BANNER "Teensy 4 SDR"  // Custom Startup Screen Text
#define CALLSIGN  "EI4JKB"   // Personalized Startup Screen Text

//#define USE_RA8875

#ifdef K7MDL_BUILD

  #undef USE_RA8875   // Controls RA8875 or RA8876 build - Comment this line to choose RA8875, uncomment for RA8876

  #define V22_7_PCB
      //#define V21_7_PCB

// To enable touch by uncommenting this config item
//capacitive touch screen
#define USE_FT5206_TOUCH
Basically I have set my own CALLSIGN and startup BANNER, but more important, I selected the display (RA8876) and PCB board (V22_7_PCB) I am using.
We can click on verify button in the IDE, that will compile our project, although it will complain to tell us we need to select a board first (Tools -> Board -> Teensy 4.1). We will also switch Tools -> USB Type from “Serial” to “Serial + MIDI + AUDIO” and Tools -> CPU Speed to 816 MHz.
We can click verify again and we will get new errors, this time caused by the lack of the necessary libraries to build the project.
Install dependency libraries and build the project#
Details on which libraries might be needed to build the project are documented in the Github wiki libraries.
I installed the following libraries in ~/Arduino/libraries
cd ~/Arduino/libraries
git clone https://github.com/nusolar/Metro
git clone https://github.com/chipaudette/OpenAudio_ArduinoLibrary
git clone -b 2.1.0 https://github.com/LAtimes2/InternalTemperature
git clone https://github.com/Fattoresaimon/ArduinoDuPPaLib
git clone https://github.com/pavelmc/Si5351mcu
git clone https://github.com/wwatson4506/Ra8876LiteTeensy
git clone https://github.com/PaulStoffregen/ILI9341_t3
git clone https://github.com/sumotoy/FT5206
We can keep clicking Verify in the Arduino IDE to compile the project and see what errors it throws until we have installed all the necessary libraries. The necessary libraries depend on the the configuration options selected in RadioConfig.h.
Once the compilation succeeds we will see a message like the one below and a window with the Teensy loader will popup.
Opening Teensy Loader...
 Memory Usage on Teensy 4.1:
 FLASH: code:201652, data:149456, headers:8312   free for files:7767044
 RAM1: variables:261888, code:166360, padding:30248   free for local variables:65792
 RAM2: variables:173984  free for malloc/new:350304
Upload software to the Teensy#
Connect the Teensy to the computer using the microUSB cable. We should see the following kernel messages after connecting the USB cable:
sudo dmesg

...
[50207.860268] usb 1-3: new high-speed USB device number 19 using xhci_hcd
[50208.009173] usb 1-3: New USB device found, idVendor=16c0, idProduct=048a, bcdDevice= 2.80
[50208.009190] usb 1-3: New USB device strings: Mfr=1, Product=2, SerialNumber=3
[50208.009198] usb 1-3: Product: Teensy MIDI/Audio
[50208.009204] usb 1-3: Manufacturer: Teensyduino
[50208.009209] usb 1-3: SerialNumber: 14202010
[50208.012992] cdc_acm 1-3:1.0: ttyACM0: USB ACM device
Select the port where the Teensy is connected to: Tools -> Port. We are ready to Upload the software to the Teensy. If the upload succeeds we can open the Serial Monitor: Tools -> Serial Monitor to see debugging messages sent by the Teensy through the serial interface.
Useful links#
- https://github.com/K7MDL2/KEITHSDR
- https://github.com/K7MDL2/KEITHSDR/wiki
- https://u.easyeda.com/account/user/projects/index/detail?project=ed9cbe3aff4e49938ebce843339e8038&folder=all
- https://k7mdl2.wixsite.com/k7mdl/copy-of-teensy-4-sdr
- https://groups.io/g/keithsdr
- https://github.com/K7MDL2/KEITHSDR/wiki/Hardware